


Some days you want sourdough, but you do not want to babysit dough for half your natural life. Totally fair. This gluten-free version keeps the tangy, bready charm of sourdough, then lets a little yeast step in like the reliable friend who actually shows up on time.
The result is a loaf that feels a lot less risky and a lot more sliceable. You get better lift, a softer crumb, and a process that does not require mystical levels of patience. Makes 1 loaf, and yes, your toast game is about to get obnoxiously good.
Why This Gluten-Free Sourdough Bread with Yeast Recipe Is Awesome
This recipe is basically the middle ground between old-school sourdough and “please let this work on the first try.” The starter gives you flavor. The yeast gives you backup. That combo is a very good idea when gluten-free dough already likes to be dramatic.
It is also a practical loaf. You can mix it in one bowl, bake it in a standard loaf pan, and skip the dense-brick roulette that some gluten-free breads seem weirdly committed to.
- Faster rise: The yeast does the heavy lifting while the sourdough starter brings the tang.
- More forgiving: Great if your starter is active but not exactly thriving like a wellness influencer.
- Better texture: You get a loaf that slices nicely instead of crumbling into sad little regrets.
- Freezer-friendly: Toast straight from frozen and feel wildly efficient.
Ingredients You’ll Need for Gluten-Free Sourdough Bread
You do not need a chemistry degree, but you do need the right cast of characters. Gluten-free bread responds best when you measure carefully, so if you own a kitchen scale, now is its time to shine.
- 1 cup active gluten-free sourdough starter
- 2 1/4 cups warm water
- 2 1/4 teaspoons instant yeast
- 1 tablespoon maple syrup or sugar
- 2 tablespoons olive oil
- 4 cups gluten-free all-purpose flour blend
- 3 tablespoons whole psyllium husk
- 1 1/2 teaspoons fine sea salt
A quick note on the flour blend: pick one meant for yeast baking if you can. Rice-heavy blends work well, and psyllium husk is not optional unless you enjoy bread that acts like wet sand.
Step-by-Step Instructions for Gluten-Free Sourdough Bread with Yeast
This dough will look more like a thick batter than classic kneadable bread dough. That is normal. Do not panic and dump in another cup of flour like a maniac.
-
Wake up the wet ingredients. In a large bowl, whisk together the warm water, sourdough starter, instant yeast, maple syrup, and olive oil. Let it sit for 3 to 5 minutes so the yeast gets moving.
-
Mix the dry ingredients. In a second bowl, stir together the gluten-free flour, psyllium husk, and salt. Break up any psyllium clumps now, because they love causing chaos later.
-
Make the dough. Add the dry mix to the wet mix and stir really well. Keep going until no dry patches remain. The dough should be thick, sticky, and scoopable.
-
Let it hydrate. Rest the dough for 10 minutes. This gives the psyllium time to absorb water and helps the dough firm up into something easier to shape.
-
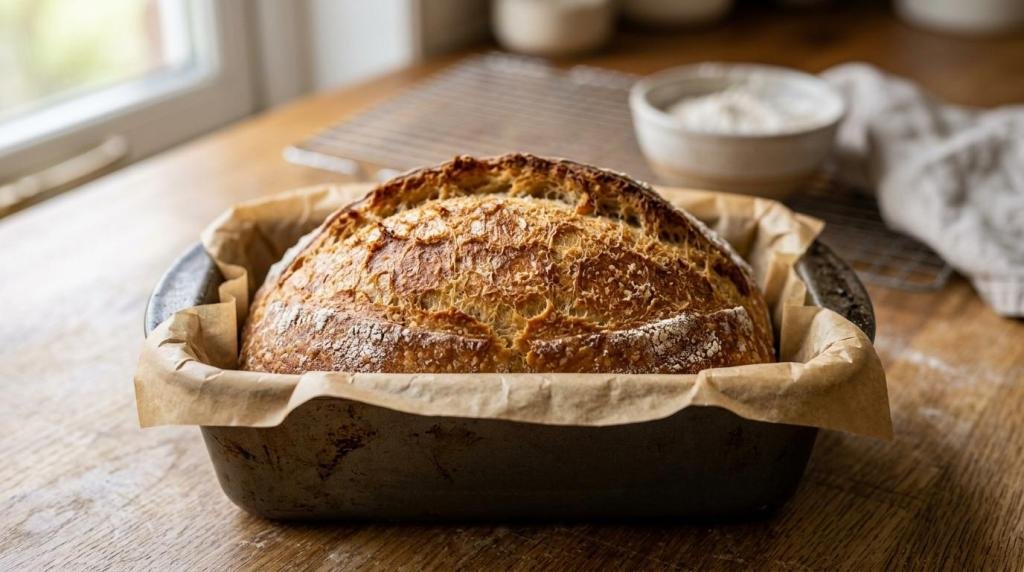
Transfer to the pan. Line a 9×5-inch loaf pan with parchment paper. Scrape in the dough and smooth the top with wet hands or a silicone spatula. If you want, dust the top lightly with flour for that “I know what I’m doing” look.
-
Rise until puffy. Cover the pan loosely with a clean towel and let the dough rise in a warm spot for 45 to 60 minutes. You want it visibly puffed, not doubled like wheat bread.
-
Bake it properly. Preheat the oven to 425°F. Bake for 20 minutes, then lower the heat to 375°F and bake another 30 to 35 minutes. The loaf should look deeply golden and sound a little hollow when tapped.
-
Cool completely. Lift the bread out of the pan and cool it on a rack for at least 2 hours before slicing. Yes, two hours. Cutting hot gluten-free bread is a fast way to get gummy slices and emotional damage.
Common Mistakes to Avoid with Gluten-Free Sourdough Bread
The biggest mistake is treating gluten-free dough like regular bread dough. It is not the same beast. It does not want a long knead, and it absolutely does not want random last-minute flour additions because it “looks too wet.”
Skipping the psyllium is another classic problem. Psyllium gives the loaf structure and helps trap gas from the starter and yeast. Without it, the bread can collapse, crumble, or turn oddly gummy in the middle.
Then there is the cooling issue. Nobody wants to wait, but hot bread lies to you. It smells done, it looks done, it feels very persuasive. Slice too early, though, and the center can turn dense and sticky. Rookie move.
One more thing: do not overproof it. If the dough rises too long, it may puff up nicely and then sink in the oven like it lost confidence. Bake when it looks airy and expanded, not when it starts looking exhausted.
Alternatives and Substitutions for Gluten-Free Sourdough Bread
This loaf is flexible enough to work with a few swaps, which is handy if your pantry looks like a random assortment of “almost useful” ingredients. Keep the basic structure the same, and you can adjust a few details without wrecking the whole thing.
| Ingredient | Best Substitute | Notes |
|---|---|---|
| Instant yeast | Active dry yeast | Use the same amount, but dissolve it in the warm water first |
| Maple syrup | Sugar or agave | Just there to help with browning and yeast activity |
| Olive oil | Avocado oil or melted vegan butter | Any mild fat works well |
| Psyllium husk | Psyllium powder | Use less, about 2 tablespoons instead of 3 |
| GF flour blend | GF bread flour blend | Often gives a better rise and softer crumb |
| Sourdough starter | 1/2 cup extra water plus 1/2 cup extra flour | The loaf loses sourdough flavor, but it still bakes up nicely |
If your flour blend already contains xanthan gum, that is fine. If it does not, this recipe can still work well because the psyllium is doing most of the structural work. IMO, psyllium gives a more bread-like chew anyway.
FAQ About Gluten-Free Sourdough Bread with Yeast
A few questions come up every single time with this kind of loaf, and honestly, fair enough.
Can I make gluten-free sourdough bread with yeast if my starter is weak?
Yes, that is one of the best reasons to use yeast here. A weak but still living starter can add flavor, while the yeast handles the rise. If your starter smells truly off or has mold, though, toss it. We are baking bread, not running experiments.
Does this bread taste very sour?
Not aggressively. It has a mild tang, especially if your starter is active and slightly mature. If you want more sour flavor, let the mixed dough rest in the fridge for a few hours before the final rise.
Can I leave the dough to rise overnight?
You can, but do it in the fridge, not on the counter unless you enjoy risky behavior. The slower chill can deepen the flavor. Just bring the pan out while the oven preheats so the dough loses some of that fridge stiffness.
Why did my loaf turn out gummy?
Usually one of three things happened: too much water, underbaking, or slicing too soon. Gluten-free bread needs enough bake time to set the center, and it needs that cooling window. Annoying? Yes. Worth it? Also yes.
Can I make this loaf without yeast?
You can, but it becomes a fully naturally leavened gluten-free sourdough, which is a different schedule and a little less predictable. This version is here for flavor plus reliability, which is a pretty great combo.
Can I freeze gluten-free sourdough bread?
Absolutely. Slice it first, then freeze the slices with parchment between them if you want easy grab-and-toast action. FYI, toasted frozen slices are often better than day-two room temp slices.
Serving and Storage Tips for Gluten-Free Sourdough Bread
Once the loaf is completely cool, store it wrapped at room temperature for up to 2 days, or in the fridge for up to 5. If your kitchen runs warm, the fridge is the safer bet. Gluten-free bread tends to dry out faster, so keep it tightly wrapped.
This bread is excellent toasted. It also makes very respectable avocado toast, grilled veggie sandwiches, and dramatic amounts of peanut butter toast. If you want the crust to perk back up, warm slices in the toaster or a skillet for a minute or two.
And if your loaf is not bakery-perfect on the first go, welcome to bread baking. That is part of the charm. The good news is this recipe stacks the odds in your favor, and the reward is a tangy, hearty loaf that tastes fantastic with jam, soup, or just a smear of salted vegan butter.


