


So you want bread that behaves like bread, not like a sad sponge that gave up halfway through baking? Excellent. A good homemade gluten-free flour blend can fix a lot of kitchen drama, and this one is built for yeast breads, rolls, and pizza dough that actually feel worth chewing.
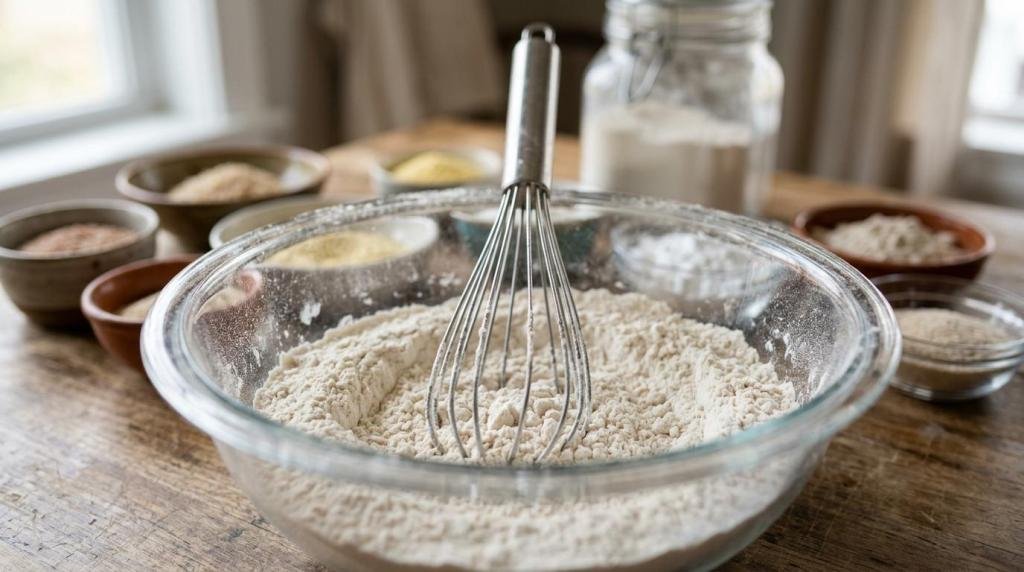
The best part is that you do not need a chemistry degree or a pantry that looks like a specialty grocery store exploded. You just need the right mix, a bowl, and the willingness to whisk like you mean it.
Why This Gluten-Free Bread Flour Recipe Is Awesome
A solid gluten-free bread flour blend does one very important thing: it gives your dough a better shot at structure, stretch, and that pleasantly bready texture people miss when they ditch wheat. No magic, no nonsense, just smart ingredients working together.
This blend uses a mix of whole grain flours and starches, plus psyllium husk for strength. That means better rise, less crumbling, and fewer loaves that slice like wet sand. If you have ever baked a gluten-free loaf that looked great and then collapsed into a dramatic little brick, this recipe is here for your recovery arc.
It is also naturally vegan, which is always a nice bonus.
Ingredients You’ll Need for the Flour Blend
You can toss this together in about 10 minutes. Then store it and feel wildly prepared every time a bread craving hits.
- Brown rice flour
- Sorghum flour
- Millet flour
- Potato starch: keeps the texture lighter and softer
- Tapioca starch: adds chew and a bit of stretch
- Certified gluten-free oat flour: brings a mellow flavor and helps tenderness
- Psyllium husk powder: gives the blend structure so your dough has some backbone
- Fine sea salt: optional, but useful if you want a ready-to-go blend for savory breads
Here are the amounts:
- 2 cups brown rice flour
- 1 1/2 cups sorghum flour
- 1 cup millet flour
- 1 1/2 cups potato starch
- 1 cup tapioca starch
- 1 cup oat flour
- 1/4 cup psyllium husk powder
- 1 teaspoon fine sea salt, optional
This makes about 8 1/4 cups of flour blend. Plenty for several loaves, which is great because once you make bread that does not taste like punishment, you will want to keep going.
Step-by-Step Instructions for Mixing the Flour Blend
This is less “recipe” and more “very useful life skill.” Still, do not just dump everything in a bowl and hope for inner peace. Mix it well.
-
Grab a very large mixing bowl. Make it bigger than you think you need, unless you enjoy flour clouds and instant regret.
-
Add the brown rice flour, sorghum flour, millet flour, potato starch, tapioca starch, oat flour, and psyllium husk powder. Add the salt too if you are using it.
-
Whisk the mixture for at least 1 to 2 minutes. Break up every little lump you see. A lazy whisk leads to patchy flour, and patchy flour leads to weird bread.
-
Sift the blend if it looks clumpy. This step is not always necessary, but it helps a lot if your starches have been sitting around getting cozy with moisture.
-
Transfer the flour blend to an airtight container. Label it with the name and date, because mystery flour is funny only once.
-
Shake or stir the blend before each use. Starches can settle over time, and your dough deserves better than a top layer full of one ingredient and a bottom layer full of another.
-
Use this blend in gluten-free yeast bread recipes, sandwich loaves, rolls, and pizza dough. Do not assume it will replace wheat flour one-for-one in random family recipes from 1987. That is how kitchen feuds begin.
If you want to test it right away, start with a basic gluten-free sandwich loaf recipe that already uses psyllium or a similar binder. That is where this blend really shines.
Common Mistakes When Making Gluten-Free Bread Flour
The first classic mistake is treating all gluten-free flours like they do the same job. They do not. Brown rice flour brings body, starches lighten things up, and psyllium helps hold the whole thing together. Skip one major player and your bread will absolutely notice.
Another common issue is measuring carelessly. Scooping straight from the bag packs flour too tightly, which throws off the ratio. Spoon the flour into your measuring cup and level it off, or use a kitchen scale if you want to feel like the organized friend in the group. By weight is best, FYI.
Then there is the “I can just use almond flour instead” move. No, not here. Almond flour is lovely in cakes and quick breads, but it will not behave like a grain-and-starch bread blend. Different ingredient, different job, different amount of chaos.
And yes, old flour can be part of the problem too. Whole grain flours lose freshness faster than people think. If your blend smells stale or bitter, it is not being dramatic. It is done.
Alternatives and Substitutions for the Flour Blend
You do have some wiggle room here, which is nice because nobody wants a recipe held together by one hard-to-find bag of flour that vanished from the store three months ago.
Here are a few easy swaps that still keep the blend bread-friendly:
| If you need to swap | Try this | What changes |
|---|---|---|
| Sorghum flour | Buckwheat flour or extra millet flour | Slightly earthier flavor |
| Millet flour | More sorghum flour or certified gluten-free oat flour | A bit softer, less neutral |
| Potato starch | More tapioca starch | Chewier texture |
| Oat flour | White rice flour | Milder taste, slightly drier feel |
| Psyllium husk powder | Xanthan gum, use much less | Less hearty texture, still workable |
A quick note on psyllium: if you swap it for xanthan gum, do not use the same amount. Psyllium and xanthan are not twins, cousins, or even casual acquaintances. Start with 2 to 3 tablespoons xanthan gum for the full batch, then use recipes that already support that kind of binder.
IMO, the best version still uses psyllium. It gives homemade gluten-free bread a more satisfying chew and helps slices hold together without going gummy.
FAQ About Homemade Gluten-Free Bread Flour
Can I use this as a cup-for-cup replacement for regular bread flour?
Not exactly. This blend is made for recipes built for gluten-free yeast baking. Wheat dough and gluten-free dough behave very differently, so random swaps can go sideways fast.
Can I make this without oat flour?
Yep. Use white rice flour or extra millet flour instead. The flavor changes a little, but the blend still works well.
Do I really need psyllium husk powder?
If you want better structure, yes, pretty much. Could you skip it? Sure. Should you expect the same result? Absolutely not.
Can I use psyllium husk whole instead of powdered?
You can, but grind it first if possible. Whole husks do not blend as evenly, and that can leave odd flecks and uneven texture in the dough.
How long does the flour blend last?
Stored in an airtight container in a cool, dry place, it should keep well for about 1 to 2 months. In the fridge, you can stretch that longer. Whole grain flours stay fresher when chilled.
Why is my bread still dense even with a good flour blend?
Because the blend is only one part of the story. Hydration, rising time, oven temperature, and the recipe itself all matter too. Dense bread is usually a sign that the dough needed more moisture, more rise, or both.
Can I use this blend for muffins, cookies, or pancakes?
You can, but it is not the best first choice. This blend is aimed at bread. For cookies and cakes, a lighter all-purpose gluten-free mix usually does a better job.
Best Ways to Store and Use Your Bread Flour Blend
Once mixed, keep the flour in a large airtight jar or container. If your kitchen runs warm, stash it in the fridge. Give it a good shake before measuring, especially if it has been sitting for a while.
This blend is happiest in sandwich loaves, dinner rolls, burger buns, focaccia-style breads, and pizza dough. It can also work in savory buns and soft flatbreads. If the recipe needs strength and chew, this is your flour blend. If the recipe needs tenderness and a delicate crumb, pick a lighter mix.
And that is really the fun of it. You mix one smart batch now, then future-you gets to pull together better gluten-free bread with way less fuss. Honestly, that is the kind of kitchen efficiency worth showing off, even if the only person you impress is yourself.


